
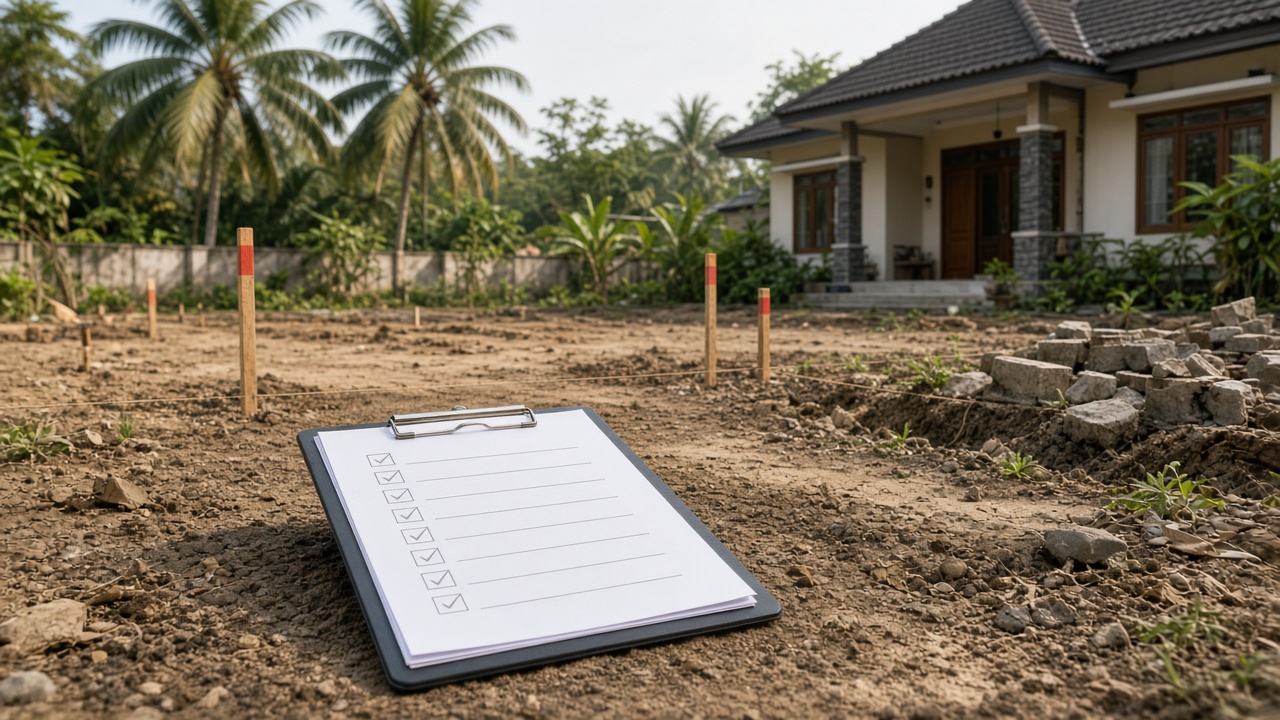
The building process
Checklist Before Building a House: From Site to Space Plan
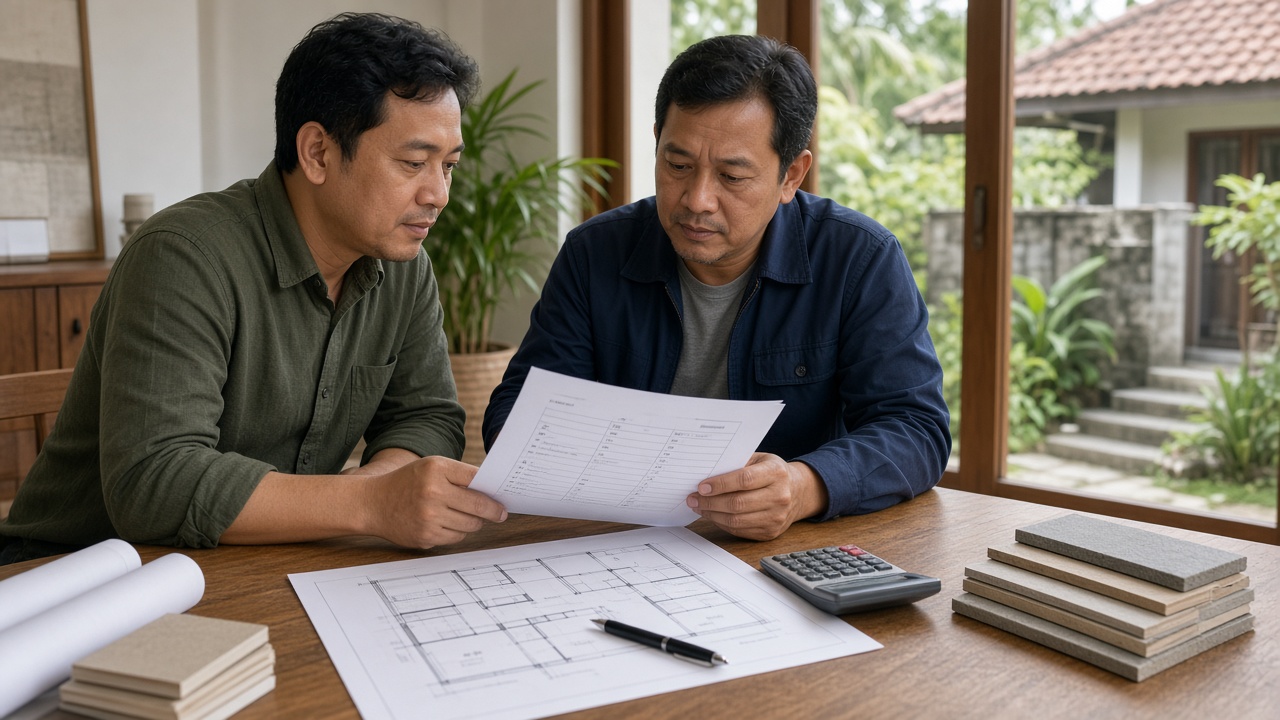
Use this pre-build checklist: space needs, site conditions, budget, design direction, permits, materials, and consultation, so design and estimate start clear.
Building a house is much easier when the main needs are thought through before design and construction start.
Decisions that look small at the beginning can change the design, the cost, the materials, the schedule, and how comfortable the house is for years.
Before you talk about price or pick materials, understand the needs, the site, the budget, and the purpose of the house you want to build.
Use this checklist as a guide.
1. Decide who will use the house
Before you set the number of bedrooms or a style, think about who will live there.
Consider:
- how many people
- their ages
- children's needs
- parents' needs
- guests
- working from home
- private rooms
- shared activities
A good house is not only attractive. It fits how the people in it live day to day.
Checklist:
☐ Set the number of occupants ☐ Note what each family member needs ☐ Decide the privacy needs ☐ Think about the longer term
2. List the rooms you need
Do not start with "I want a two-storey minimalist house."
Start with a room list.
For example:
☐ Master bedroom ☐ Children's bedrooms ☐ Guest bedroom ☐ Bathrooms ☐ Living room ☐ Dining room ☐ Kitchen ☐ Pantry ☐ Workspace ☐ Store ☐ Laundry ☐ Service area ☐ Carport ☐ Terrace ☐ Garden ☐ Balcony ☐ Outdoor room
Then group the rooms by need.
Public
- foyer
- guest sitting
- living room
- dining
Private
- bedrooms
- bathrooms
- workspace
Service
- kitchen
- laundry
- store
- plant room
That grouping helps the layout.
3. Set priorities
Not every need has the same weight.
Make three groups:
Essential
Rooms or features you truly need.
Wanted
Features that add comfort but can wait.
Extra
Features that are attractive but not the main need.
This helps when the budget has to be adjusted.
You might rather have a good kitchen and enough storage than spend the whole budget on the facade.
4. Check the site data
Before design starts, collect the basic facts about the land.
☐ Address ☐ Length and width ☐ Land area ☐ Shape ☐ Contour or slope ☐ Where the road sits ☐ Road width in front of the plot ☐ Vehicle access ☐ Any existing building ☐ Trees that should stay ☐ Drainage ☐ Available utilities
If you have land documents or a survey drawing, bring them to the consultation.
5. Watch the sun
The orientation of the plot changes how comfortable the house is.
Note:
- morning sun
- afternoon sun
- the road position
- neighbours
- wind direction
- areas that are likely to get hot
- areas that can take openings
Use that to place bedrooms, the living room, openings, shade, the terrace, and outdoor areas.
6. Check the neighbourhood
A house does not stand alone.
Look at what is around it:
☐ Neighbouring houses ☐ The height of nearby buildings ☐ Privacy ☐ Noise ☐ Views ☐ Planting ☐ Drainage ☐ Vehicle access ☐ Flooding risk ☐ The road condition
Those facts can lead to a different design than plot size alone.
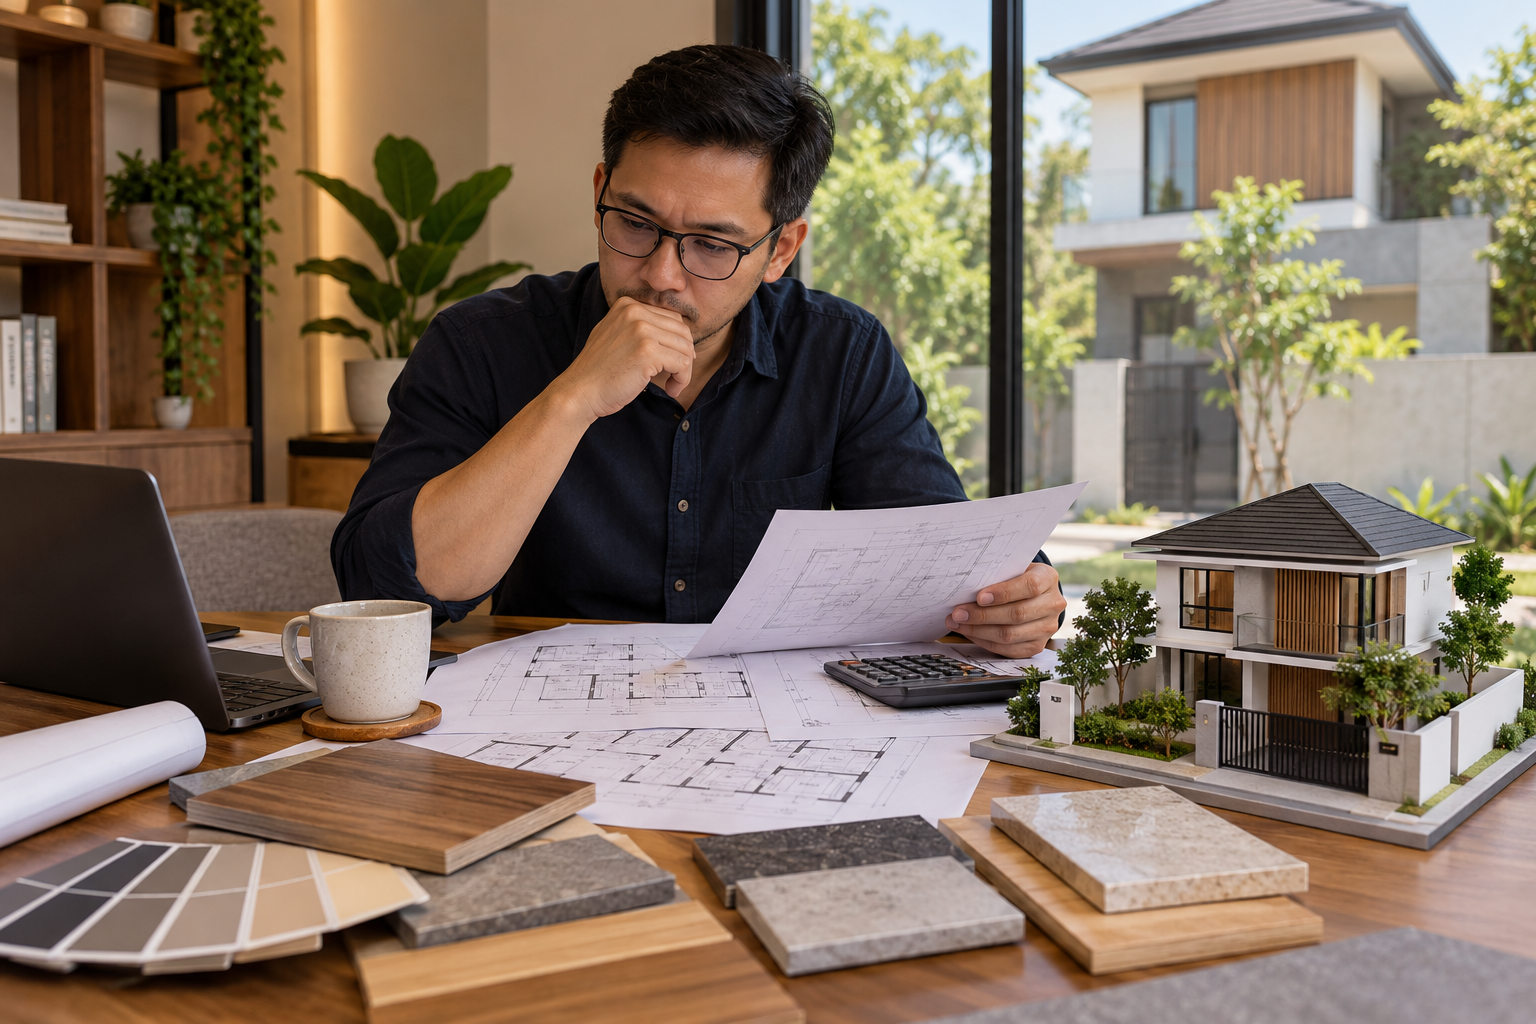
7. Set a budget
Before the design gets very detailed, set a budget range.
It does not have to be a precise number on day one.
Start with a minimum that is still realistic, and a maximum you are willing to spend.
Then decide which parts are the priority.
The budget should consider:
- construction work
- structure
- architecture
- MEP
- finishes
- external work
- certain furniture or built-ins
- special requirements
- other project costs
8. Do not look only at the price per square metre
A price per m² is useful for a first picture. It is not enough for a final cost.
Houses of the same area can cost different amounts because of:
- design
- structure
- materials
- finishes
- the number of bathrooms
- opening sizes
- roof form
- MEP
- custom work
- site conditions
Use the early estimate to test whether the budget is realistic, not as a contract price.
9. Collect design references
Save references you like.
You can collect:
- facade photos
- plans
- living rooms
- kitchens
- bathrooms
- stairs
- gardens
- materials
- colour
- doors
- windows
- lighting
Do not only collect pictures.
Ask what you actually like in the image. Is it the form, the material, the light, the proportion, the colour, or the indoor-outdoor connection?
That answer is more useful to an architect or design team than "I want a house like this."
10. Choose an architectural direction
A style can be a starting point for the conversation.
Common references include:
- Modern
- Minimalist
- Japandi
- Modern Tropical
- Tropical Contemporary
- Industrial
- Contemporary
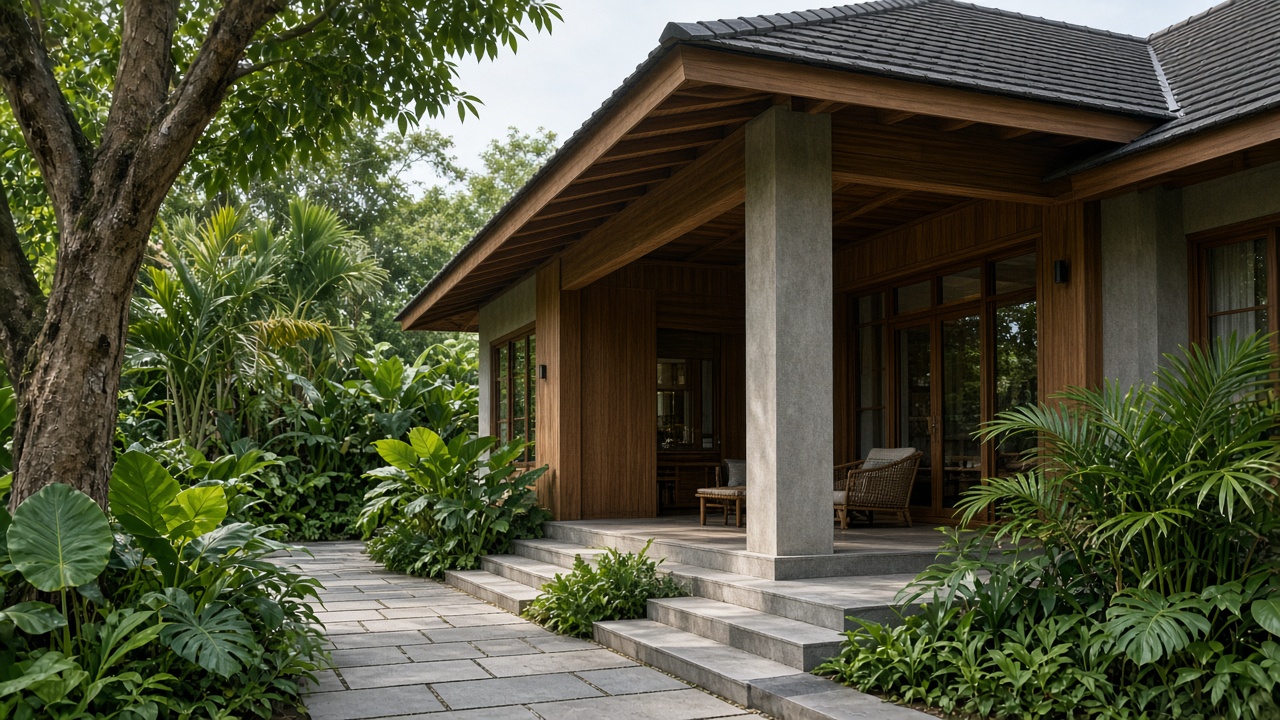
A style should not become a rigid limit.
The design still has to fit the climate, the location, the rooms, the budget, the orientation, the site, and how the occupants live.
11. Think about how rooms connect
A good plan is not only a room count.
Watch the relationships:
Is the kitchen near the dining room?
Can the children's rooms be supervised?
Does the service area have its own access?
Do guests have to pass through private rooms?
Do the bedrooms have enough privacy?
Does the living room get daylight?
Does the laundry have ventilation?
Those questions often matter more than simply adding floor area.
12. Plan storage from the start
Storage is often forgotten when the plan is drawn, and the need keeps growing.
Consider:
- wardrobes
- kitchen storage
- a pantry
- linen storage
- a shoe cabinet
- a store
- storage under the stair
- built-in cabinets
Storage planned early usually sits better with the architecture.
13. Set the MEP needs
Think about power and water before construction.
☐ Number of air-conditioning units ☐ Water heater ☐ Refrigerator ☐ Oven ☐ Dishwasher ☐ Washing machine ☐ Pump ☐ CCTV ☐ Internet ☐ Smart home ☐ Exhaust ☐ Outdoor lighting
These decide the number of power points, the routes, certain capacities, and the plant space.
14. Think several years ahead
A house built today may be used for decades.
Consider changes that may come:
- children growing up
- parents moving in
- working from home
- more vehicles
- more storage
- a change in how you live
A flexible design can reduce the need for a large renovation later.
15. Survey the site
This step matters.
Information from the owner, or a land drawing, does not always describe the real condition in full.
A survey can check:
- actual dimensions
- access
- any existing building
- the neighbourhood
- levels
- utilities
- site conditions
- likely construction constraints
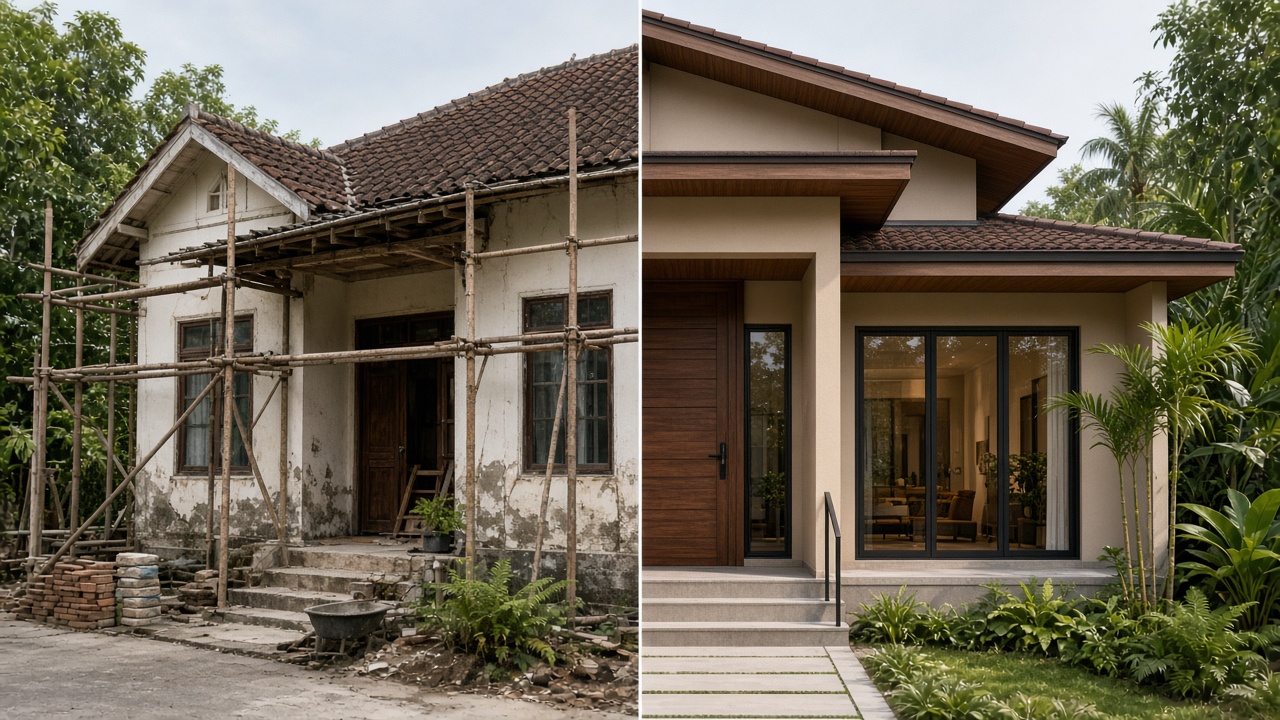
For a renovation, the survey matters even more, because the existing building has to be understood before the work is decided.
16. Decide what design you need
Once the basic information is together, decide which documents the project needs.
Depending on the project, design can include:
- a concept
- plans
- elevations
- sections
- 3D
- architectural detail
- structure
- MEP
- a material specification
- an RAB
Not every project needs the same level of documentation. Match it to the scale of the work.
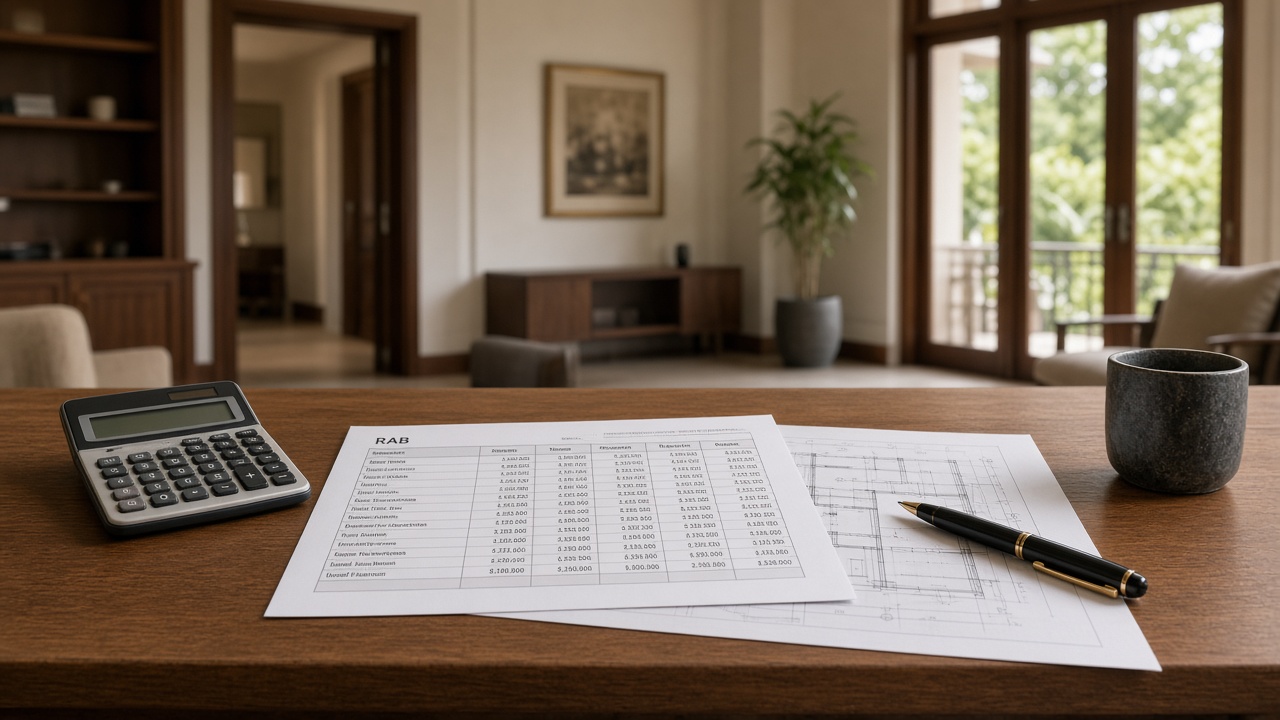
17. Prepare and review the RAB
Once the design is clear enough, the budget can become a bill of quantities.
Use the RAB to see:
- which work is required
- quantities
- materials
- the cost of each package
- the total estimate
Then compare it with the budget.
If it is too high, there is still time for value engineering before construction starts.
18. Choose materials
Do not pick every material from a photo alone.
Consider:
- durability
- maintenance
- price
- availability
- installation
- visual character
- fit with the climate
- how easy it is to replace
A material that looks good but is hard to maintain is not always the best choice for every house.
19. Define the scope of work
Before you agree to a project, be clear about what is included and what is not.
Ask:
☐ Is design included? ☐ Is structure included? ☐ Is MEP included? ☐ Are finishes included? ☐ Are sanitary fittings included? ☐ Is the kitchen included? ☐ Is built-in furniture included? ☐ Is landscape included? ☐ Are the fence and carport included? ☐ Is demolition included, for a renovation?
A clearer scope means fewer misunderstandings.
20. Final checklist before construction
Before work starts, confirm:
☐ The design is agreed ☐ The room needs are final ☐ The main specification is set ☐ The budget has been reviewed ☐ The RAB has been checked ☐ The scope is clear ☐ The site has been inspected ☐ The programme has been discussed ☐ The payment method is understood ☐ Changes have a clear process ☐ Project contacts and communication are set
Conclusion
Building a house should start well before the first worker arrives on site.
The clearer the occupants' needs, the site, the budget, the design, the specification, and the scope are at the start, the easier the project is to control.
Use this checklist as a working document. Not every decision has to be made at once. The more information you have before construction starts, the better the basis for decisions.
If you already have land and are not sure where to begin, start by listing the rooms, collecting design references, and preparing the site information. Consultation and planning can then be more focused.
Note: This article is general guidance. Design, construction, permits, and cost can differ by location and by the project.
Other articles
Swipe right to see more guides.
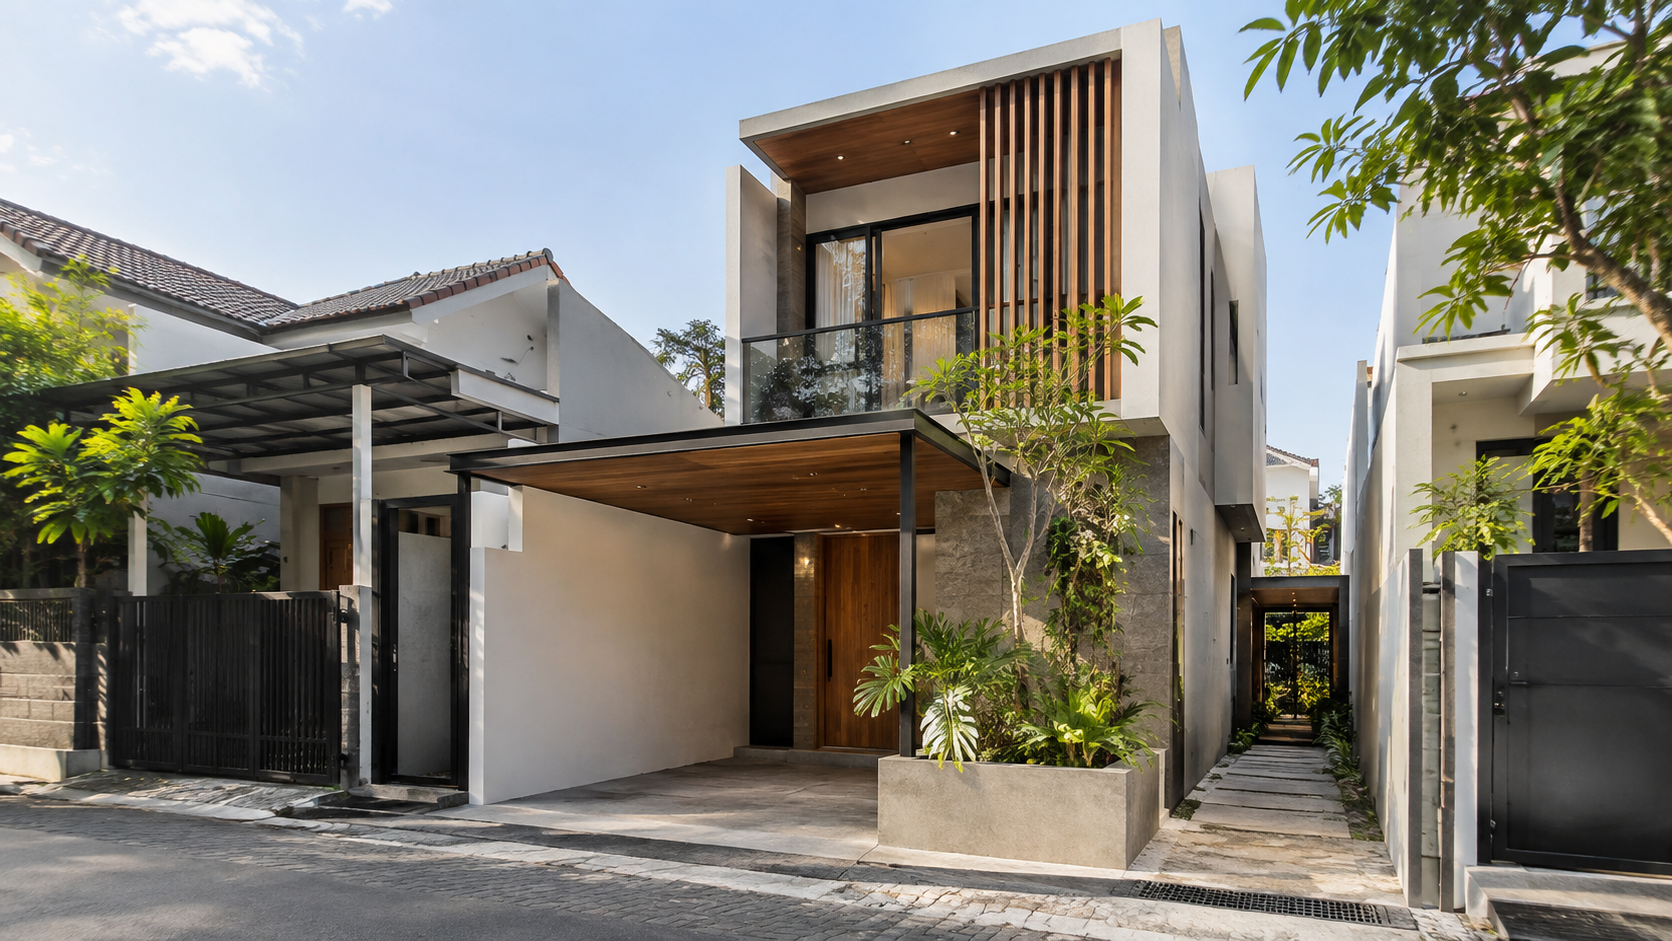
From the guide to the build
Pick a relevant design, assemble your project, then ask MEETS to set the next step.